Facebook Business Manager is a game-changer.
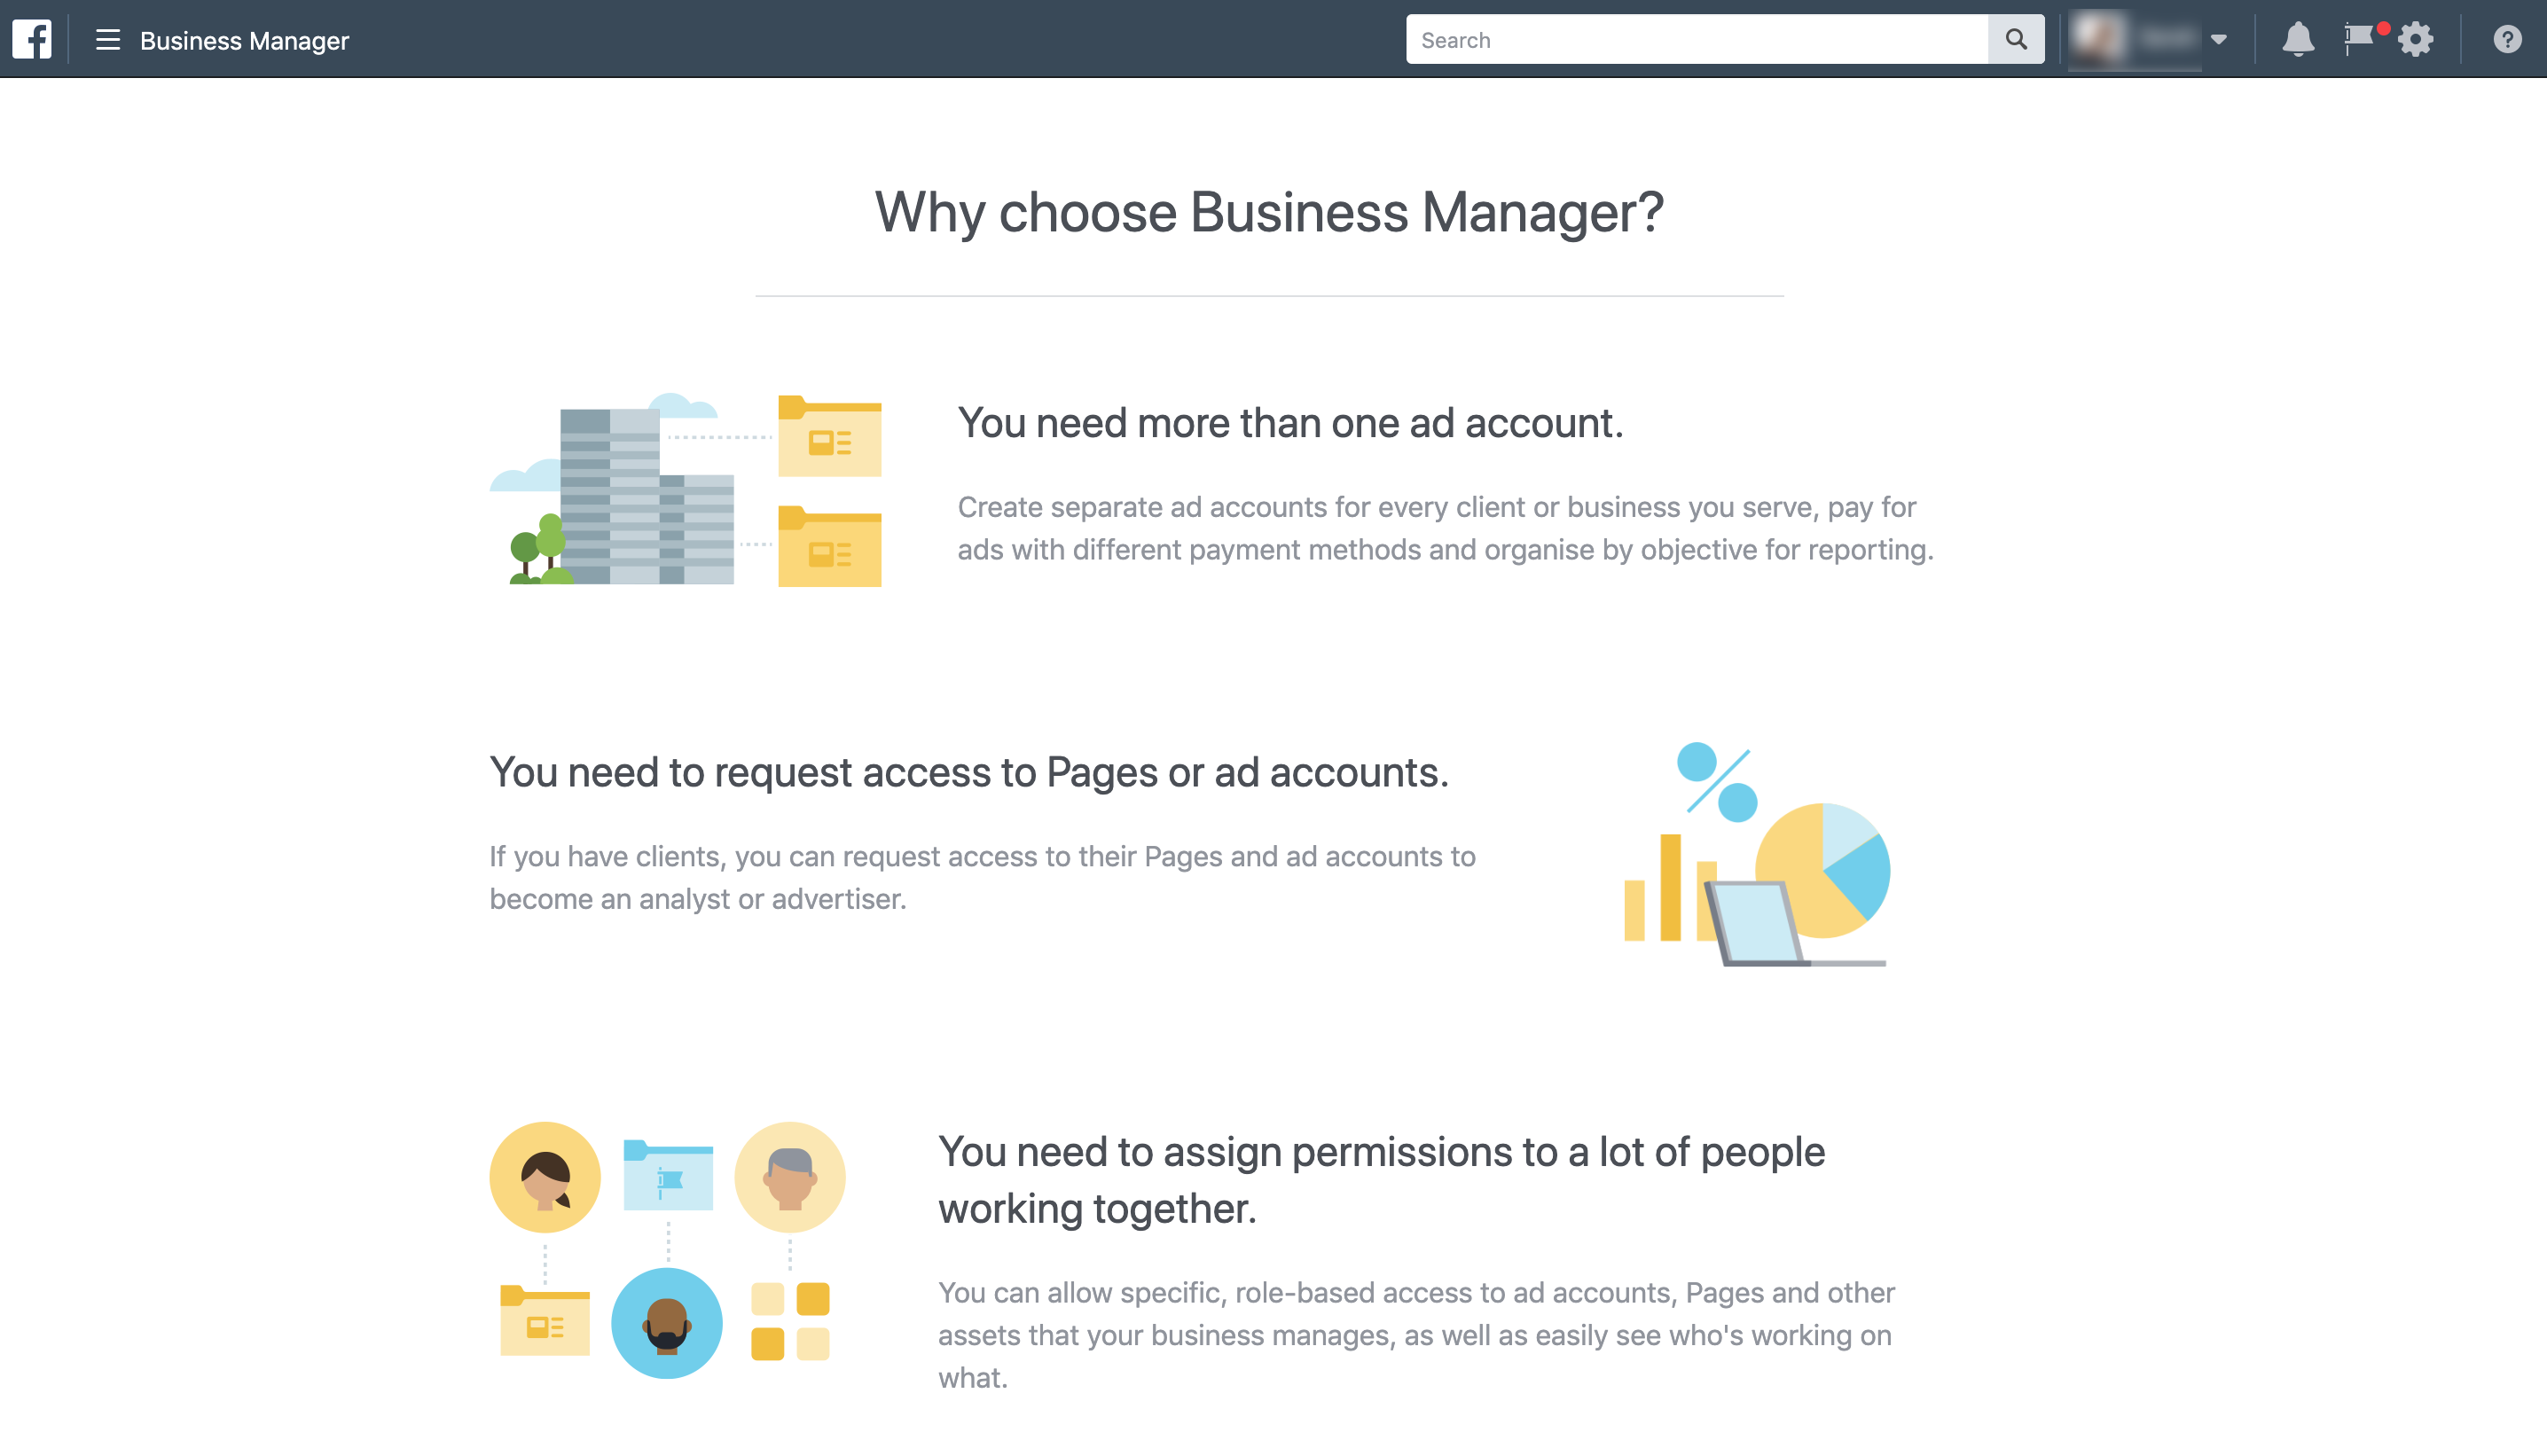
Business Manager came into play a lot later than Power Editor and Ads Manager, as a way to consolidate these parts together and give users the chance to control everything about their Business Page from one console.
It also became clear that many owners of Business Pages were working with virtual assistants, personal assistants, or actual social media managers to handle their ads as well as their social presence. So it only made sense to make it as easy as possible for these “external” users to be able to manage and access accounts for their clients — and, vice versa, for business owners to be able to assign role-based access to multiple users.
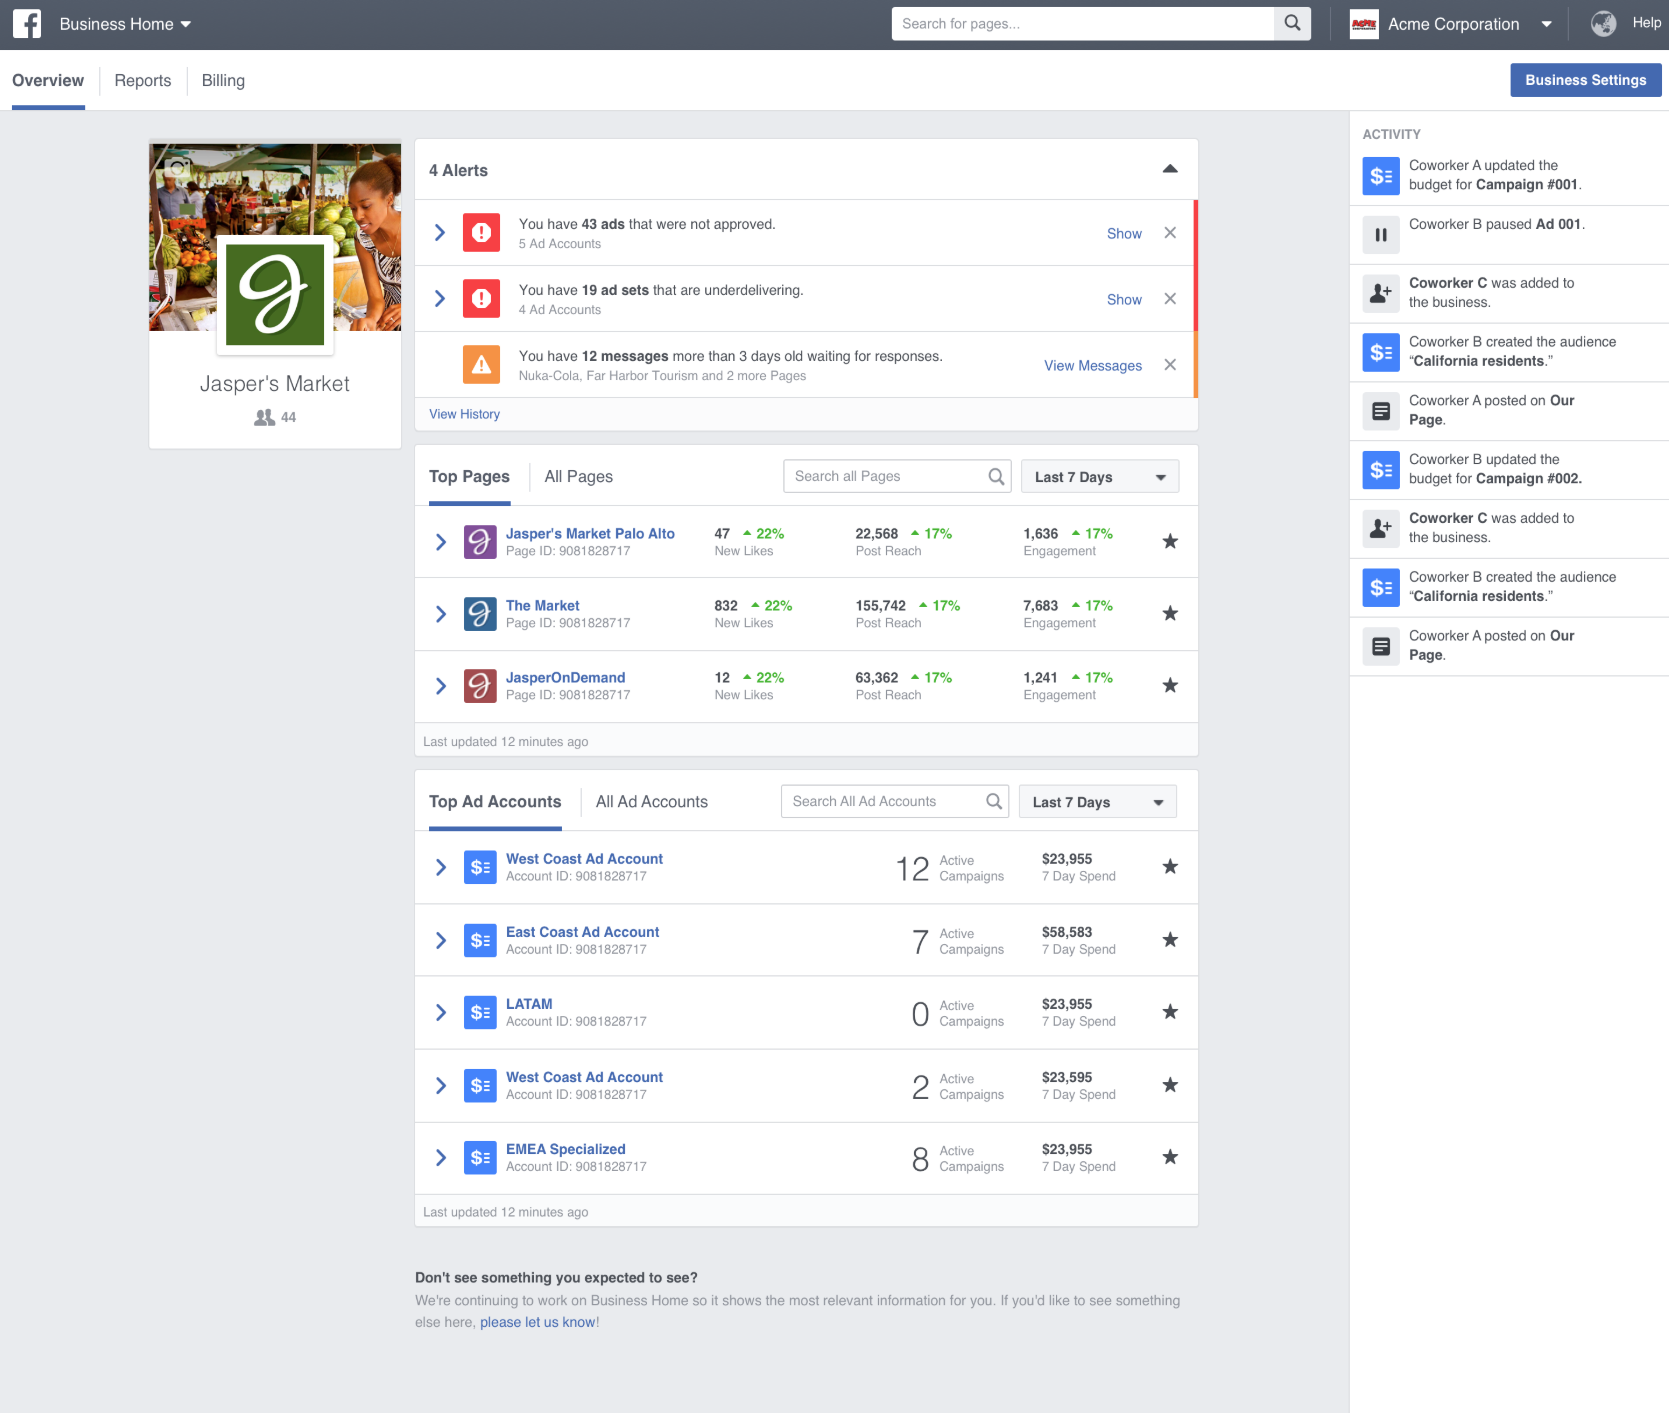
Part dashboard, part command center, Facebook Business Manager changed the way business page owners manage their Facebook assets individually and with a team. This article explains the process of how you can set up your own Facebook Business Manager account so you can have complete control of all Facebook features for managing your business.
What is Facebook Business Manager?
Let’s say you’re a small business owner planning on using Facebook as a social media platform to grow your following, visibility, and sales both organically and through paid advertisements.
Perfect.
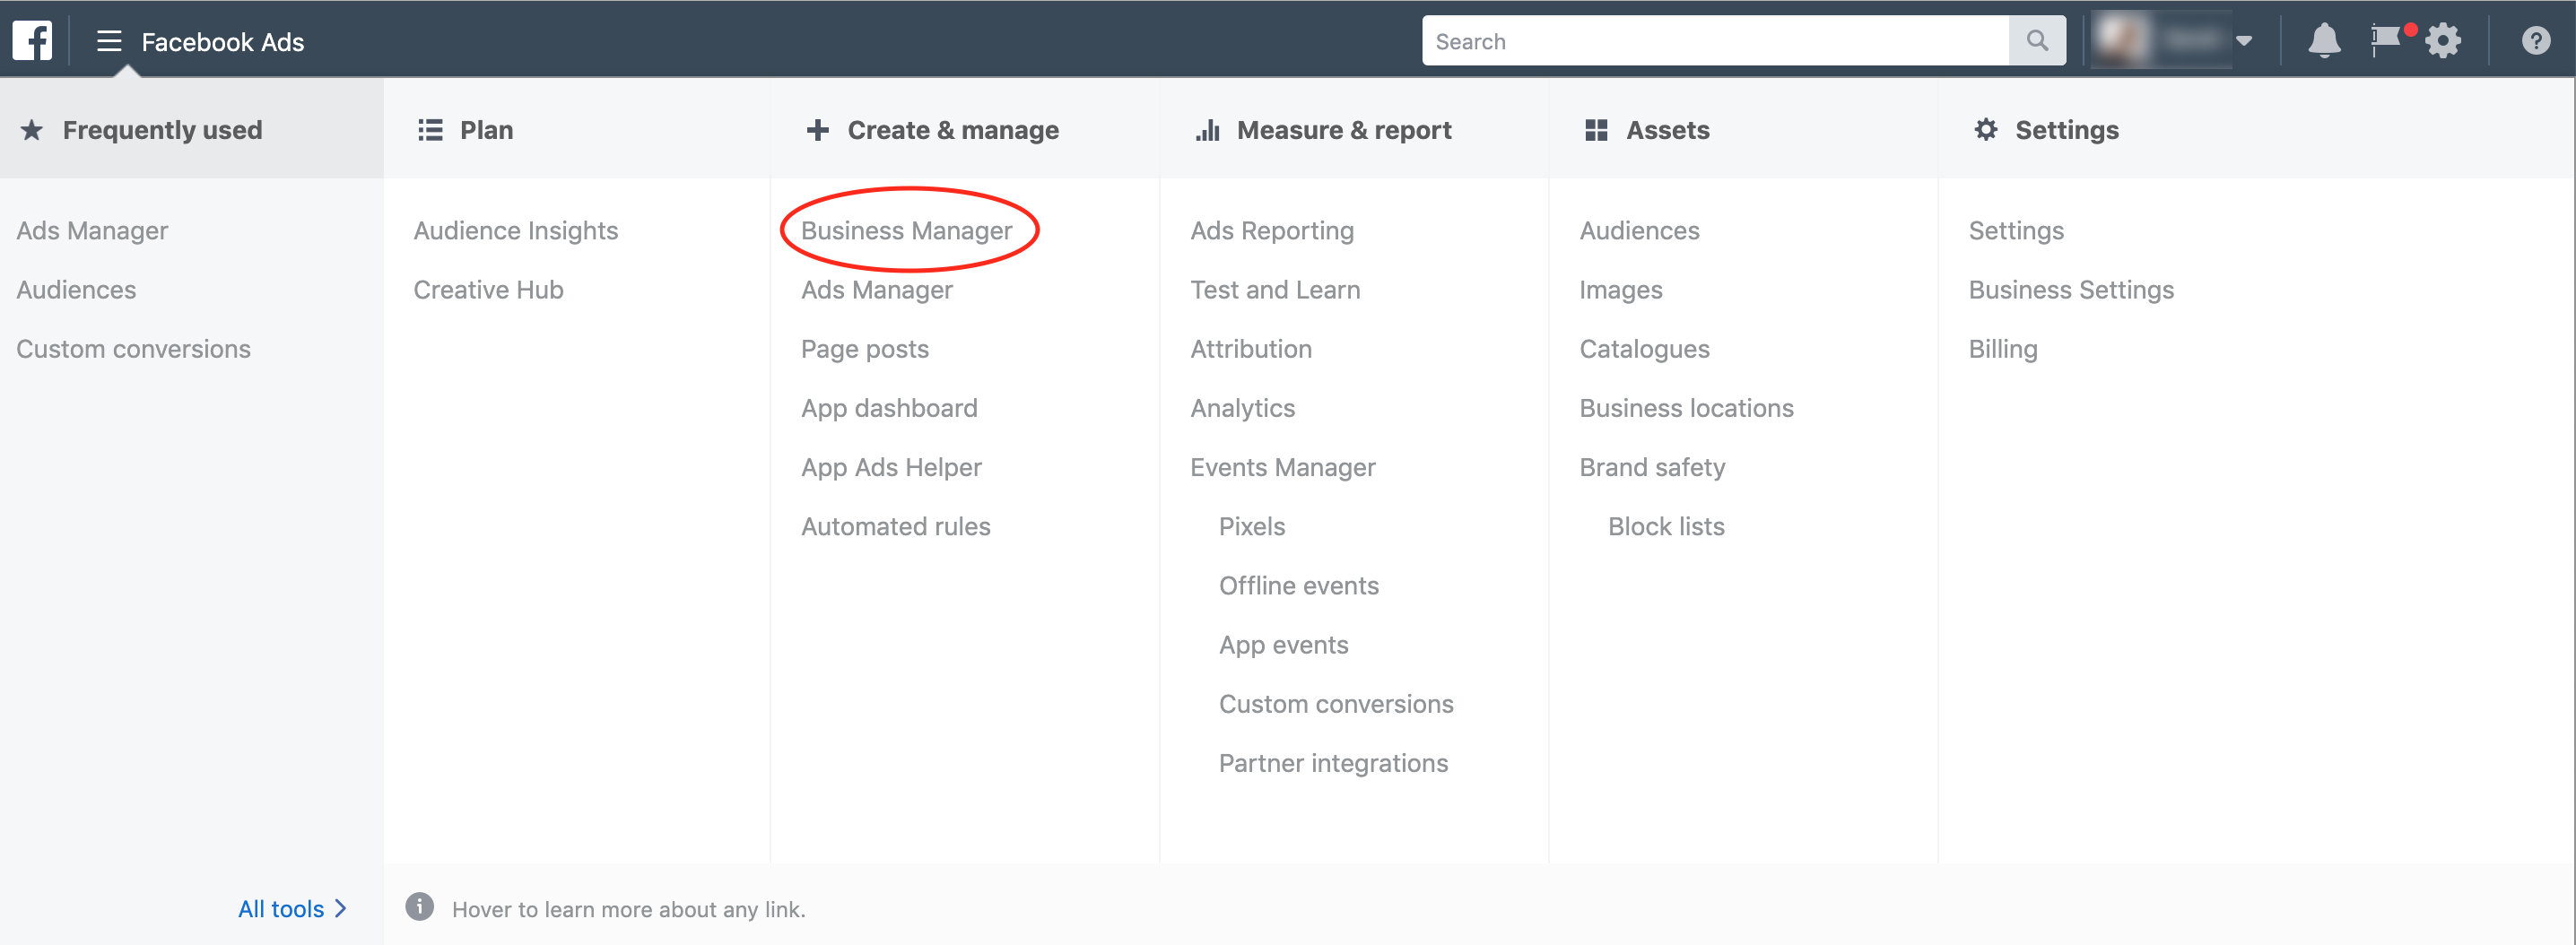
Facebook Business Manager is the first step to setting up and managing all aspects of your new “Business” account — especially ads and page posts!
In 2019, the sheer number of options you have, as a business account, seems to be endless.
This is because Facebook has spent a significant amount of time testing and re-tooling the backend interface, understanding how its users benefit and what the various functions and roles are.
For example, you’ll have a choice of around 14 assets to choose from, including:
- Agency Partners
- Ad Accounts
- Instagram Accounts
- Facebook Pages
- Apps
- Pixels
- Product Catalogs
- Block Lists
- Lead Ads
…and so much more.
Basically, Business Manager allows you to do just that: Manage one (or several) business(es) from one easy-to-use interface through several business account connections.
Let’s take a look at how this works.
Adding your Facebook pages, ad accounts, and users
Adding your Facebook pages, ad accounts, and users is a pretty simple process.
The first thing to do is to set up your Business Manager account.
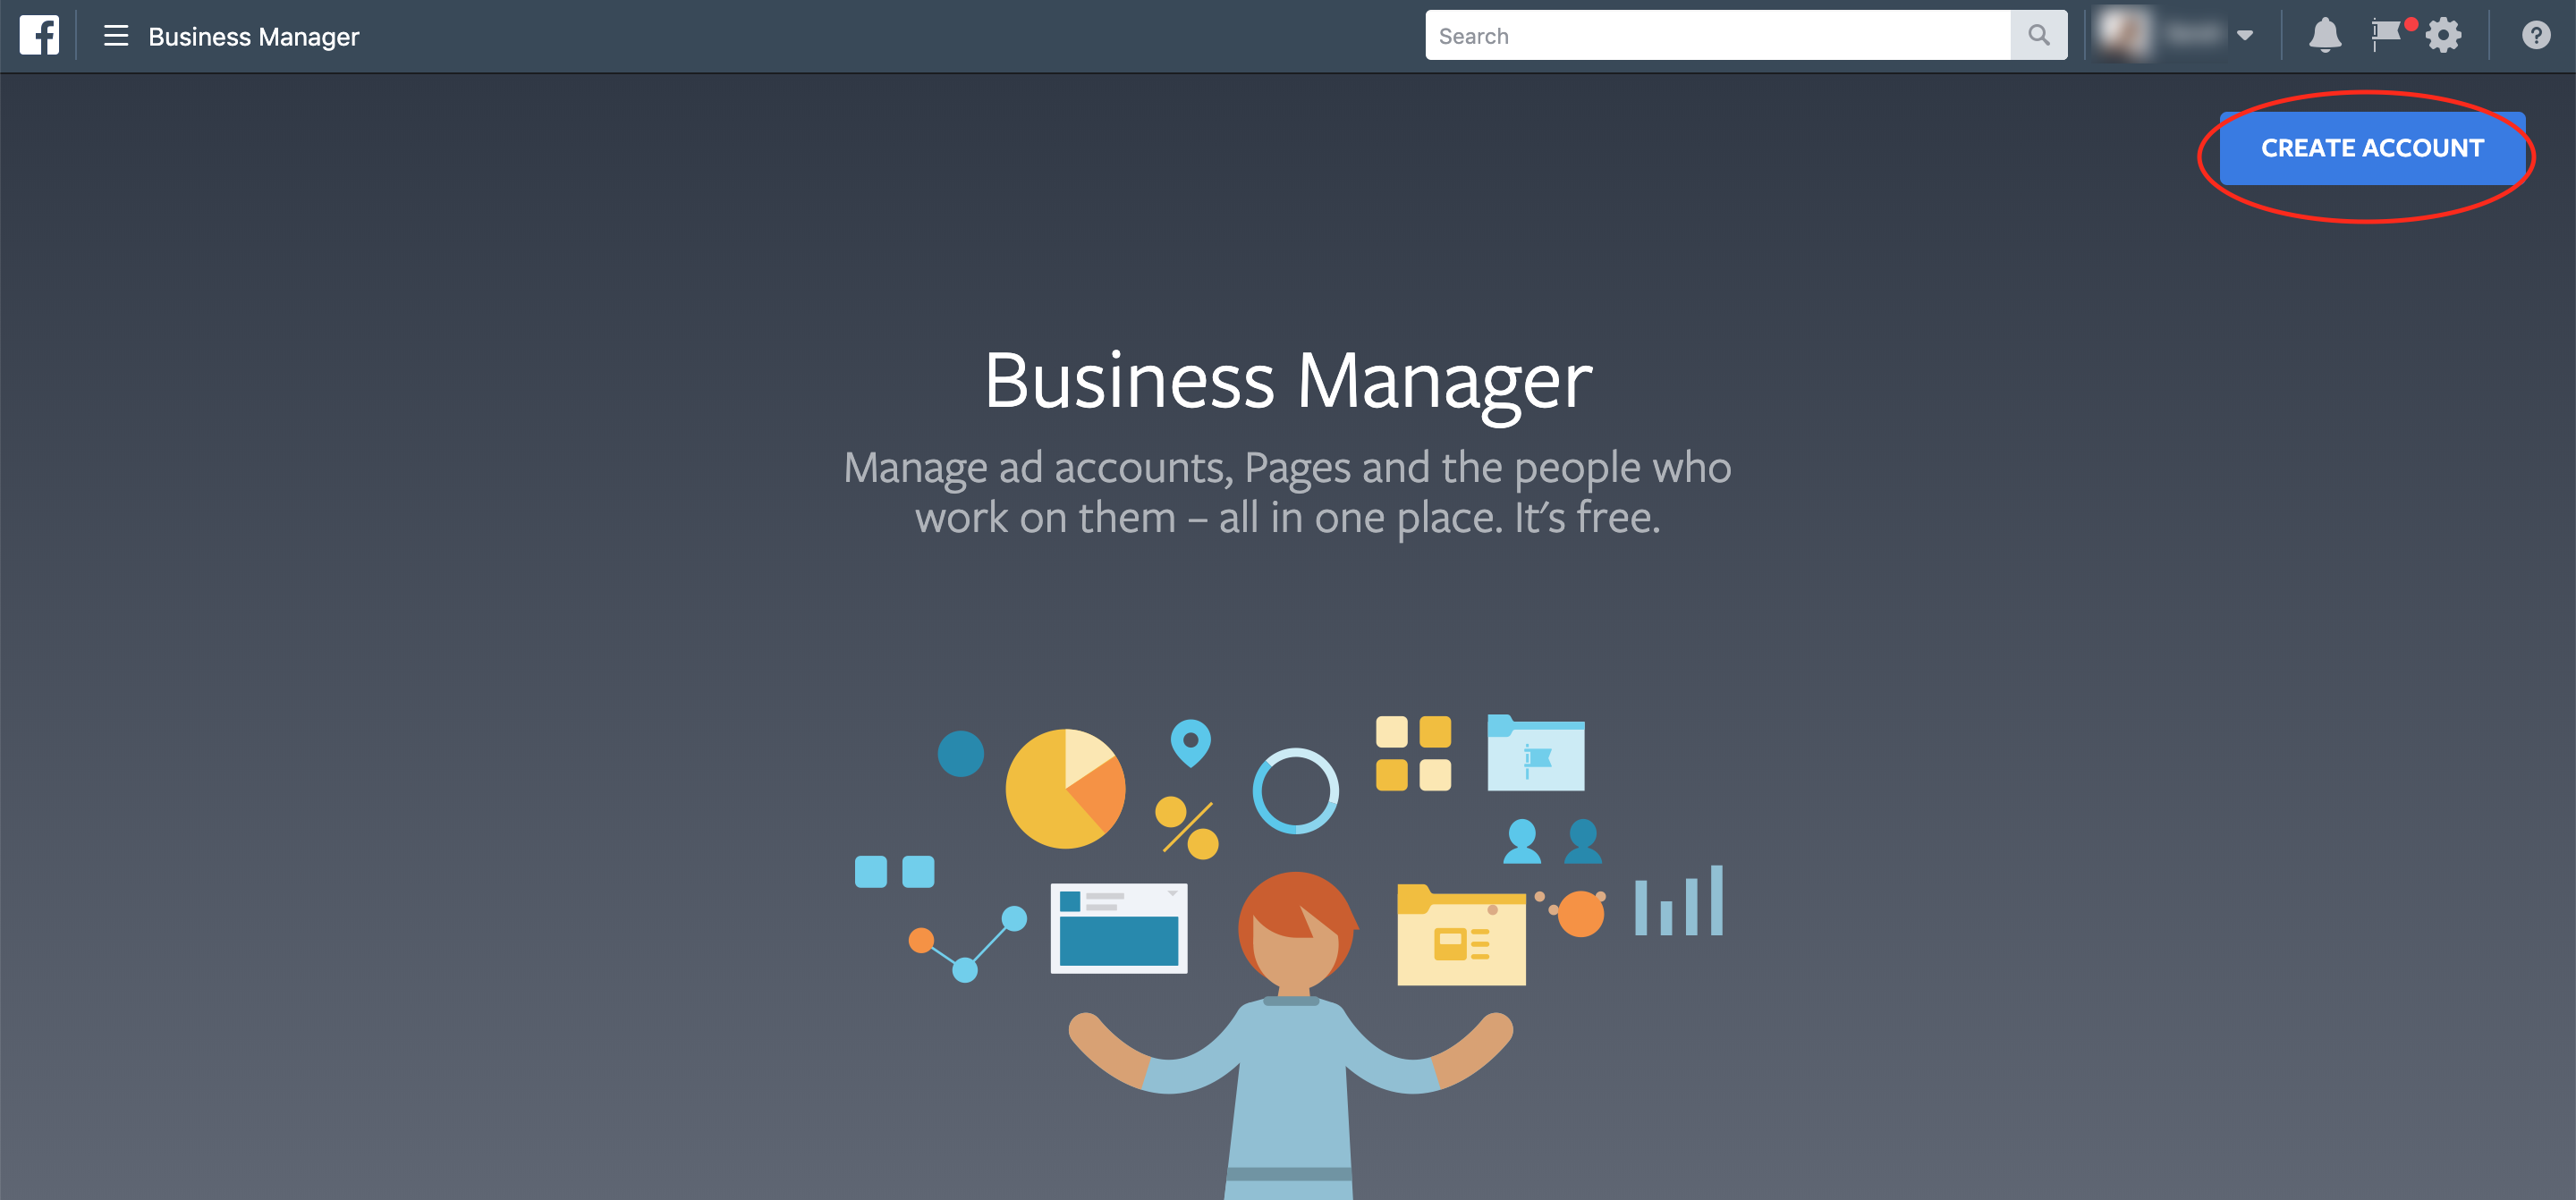
There’s a bit of a debate here about which comes first — Facebook pages or Business Manager, but it really doesn’t matter. As you’ll see below, Facebook gives you options for both.
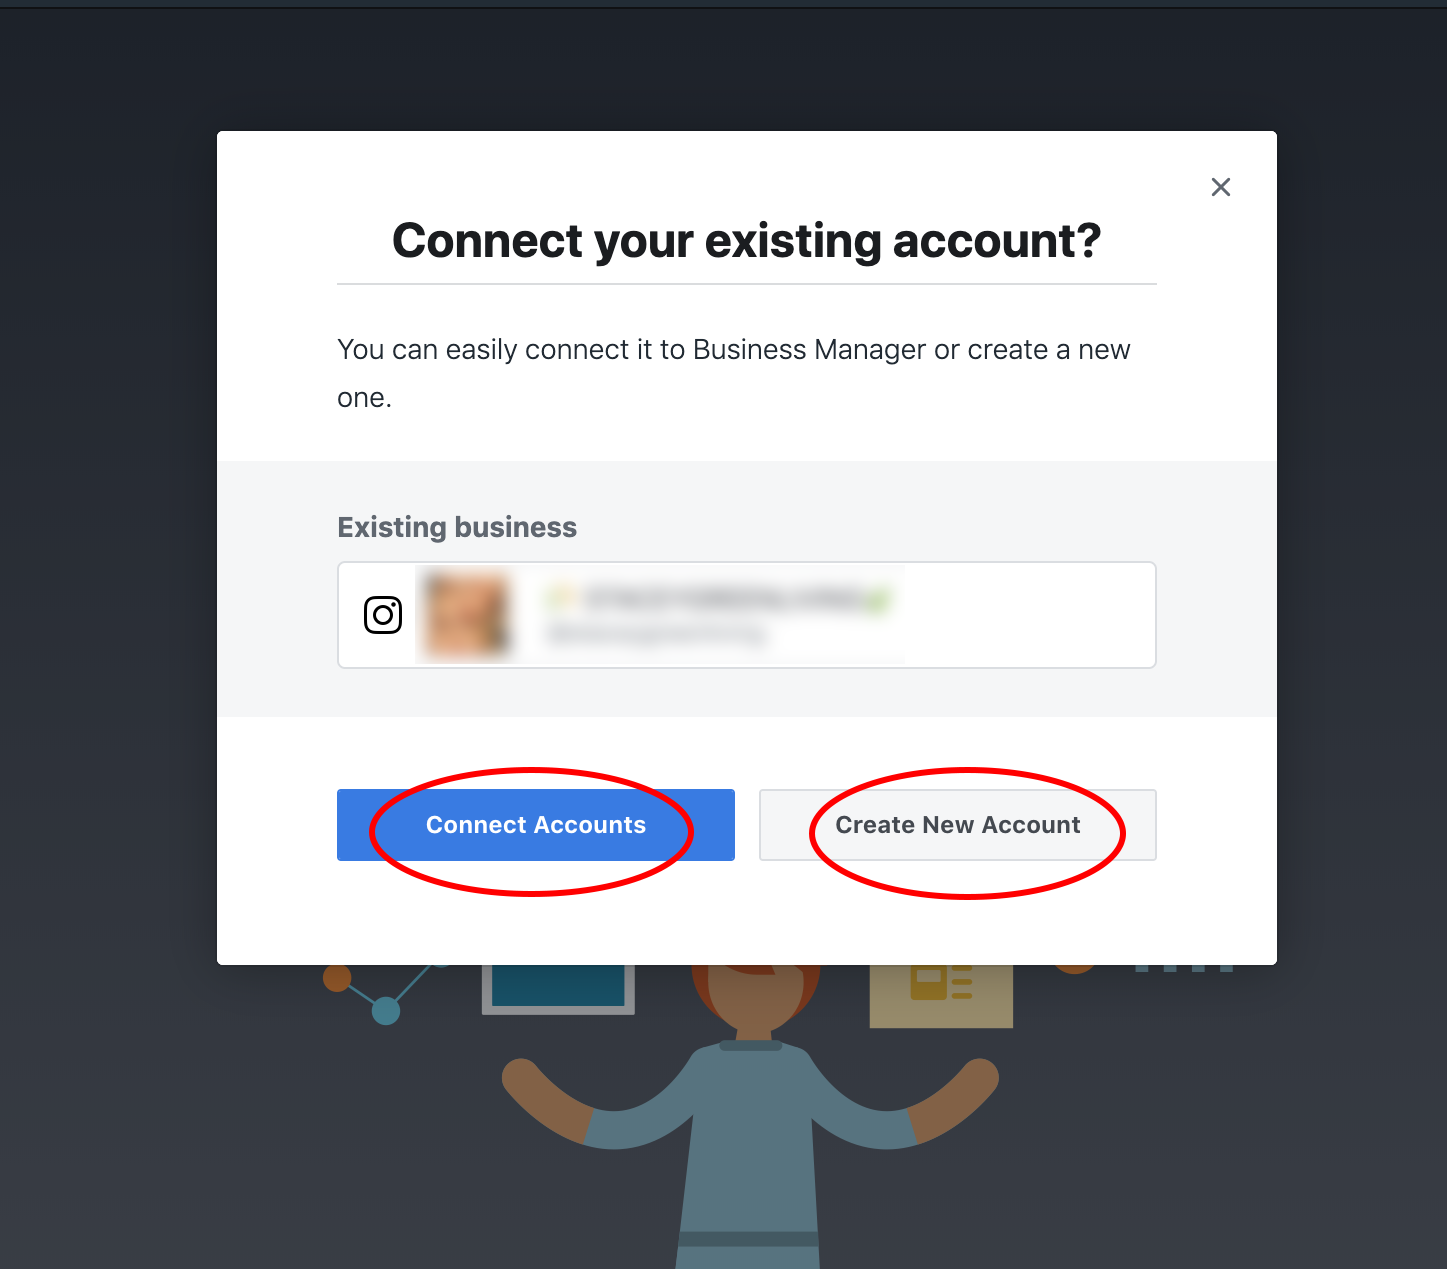
So if you have pre-existing Pages, great! If not, simply set up Facebook Business Manager through a new account and then create and link the Facebook Business Pages you’re responsible for managing.
Adding Your Facebook Pages
Once you’ve set up your new account, you’ll want to add your Facebook Pages. From the dashboard, head to “Add Page,” and the dialogue box will pop up. Here, click “Add Page” from the selection.
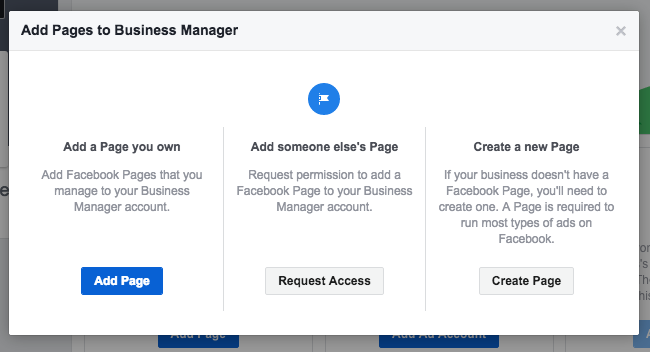
Start typing the name of your business page and it’ll auto-complete. Click on it, and you’ll be able to “Add Page,” just like you intended.
Pro-Tip: Remember that you’ll need to have admin-level access to do this. Business Manager goes by the user. So if you’re handling the pages and ad accounts for someone else, it’s best to Request Access. Otherwise, their proprietary business info will show up under your account.
Adding Ad Accounts
Okay, you’ve added your Facebook Business Page.
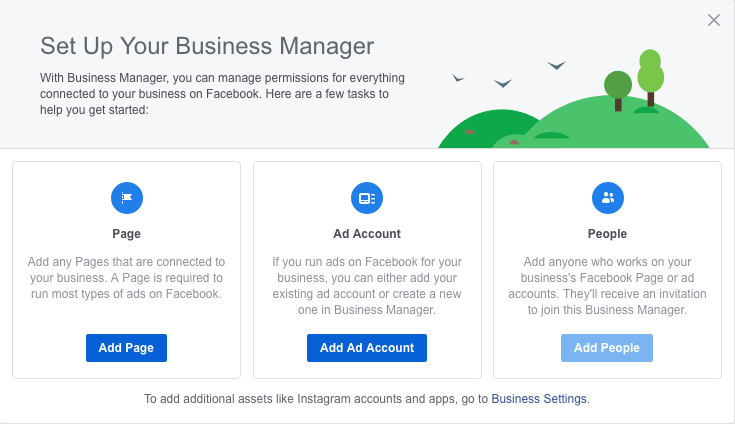
The next thing for you to do is add your ad accounts associated with your Business Page. As you can see, each of these elements operates separately but are loosely related.
The whole point of Business Manager is to allow you to control all these separate-but-related functions together. Just like with Facebook’s Business Pages, you’ll need to have a separate Ad Account already set up.
If you don’t, you’ll set one up now, then go through the process of linking it.
If you do, it’s as simple as adding the Ad Account from the Business Manager Dashboard (see below).
To set up your Ad Account first, however, click on “Create a new ad account” and fill out the form.
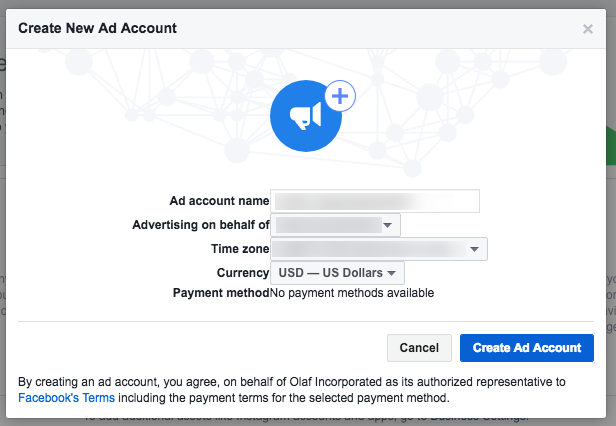
Pro-Tip: Once you’ve set up your first ad account and have set up your first campaign, spending ad dollars, you can add up to four more under one Business Manager.
Adding Users
Adding users runs through a slightly different process.
You’ll need to head back to the Business Manager dashboard and choose “People and Assets,” and then click “People.” You’ll be able to see a list of people who are already connected to your Facebook Business Manager.
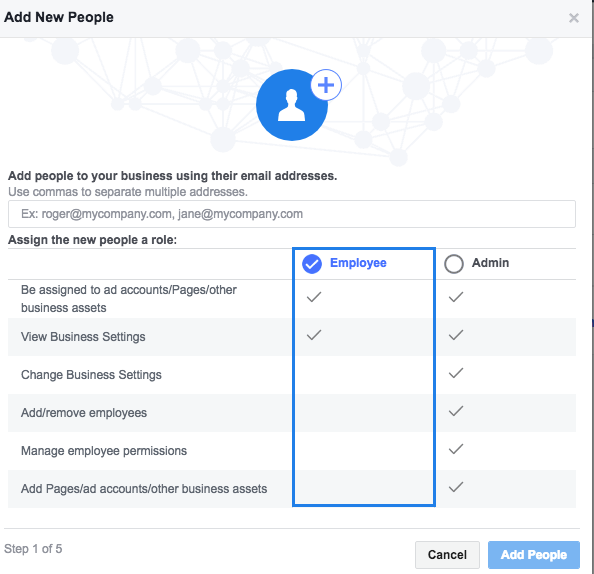
To add new users, hit the “Add” button and then enter the individual’s email. You can choose what kind of access to give them at this point. Roles include:
- Page admin
- Moderator
- Analyst
- Editor
- Advertiser
Add your business Instagram account
For your Instagram account, all you need to do is head back to People and Assets. Then, click on Instagram Accounts. Then, hit “Add” in the dialogue box.
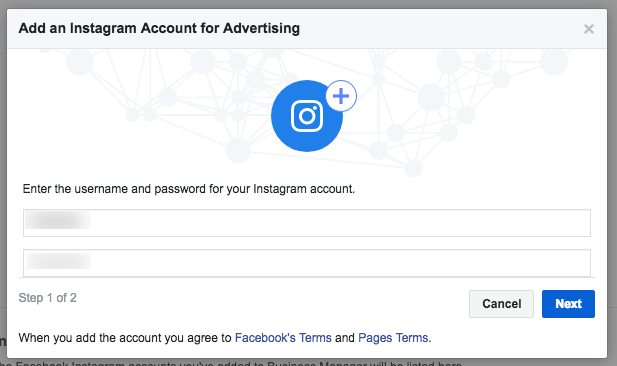
Then, enter your Instagram credentials and link the accounts.
Enter your business info and billing settings
The most important thing to do when it comes to Ads management is to set up your billing info.
You’ll need to add a payment method so that Facebook can automatically charge you once you create a campaign and set an ad spend budget.
Head to your Ad Accounts, then hit “Payment Settings.” From here, you can add new payment methods, set a spending limit for the ad account, and even edit payment methods, setting cards as primary and Paypal as secondary.
Bonus: Set Up Your Facebook Pixel!
Setting up your Facebook Pixel is the way you complete your ad tracking. Sure, ads will go out, and people will click through on them.
But the only way you know your ads are working is if there’s something there to track where individuals click through to and whether the actions you took were successful.
That’s where the Facebook Pixel comes in. Riding on your website’s cookies, Facebook Pixel is a piece of Javascript that sends back a ping to your ad account every time someone completes an ad goal.
You can decide on these goals beforehand, and they can be as simple as getting individuals to sign up, getting website visitors or completing a purchase.
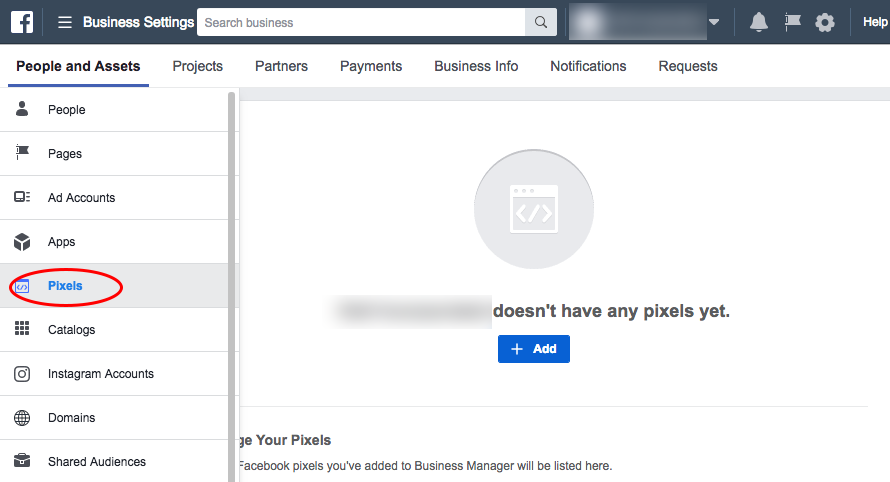
Under “People and Assets,” choose “Pixels.”
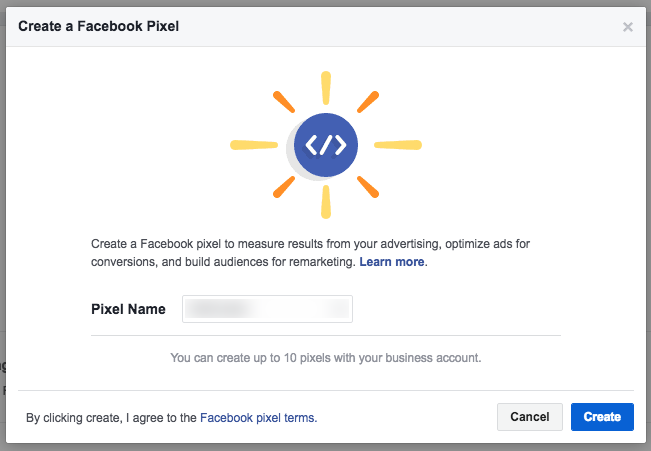
Then, click on “Create a new Pixel,” which will install the resulting piece of code, along with the extra script for tracking specific actions, on the page your customers will land on.
Installing Pixels can be tricky, especially if you are not using tag management software. Facebook does a good job of streamlining the process, but if you have any issues, we are here to help!
Business Manager essentially pulls all these functions under one easy-to-access centre. And that’s why it has managed to become the most useful tool for business owners building a Facebook following.